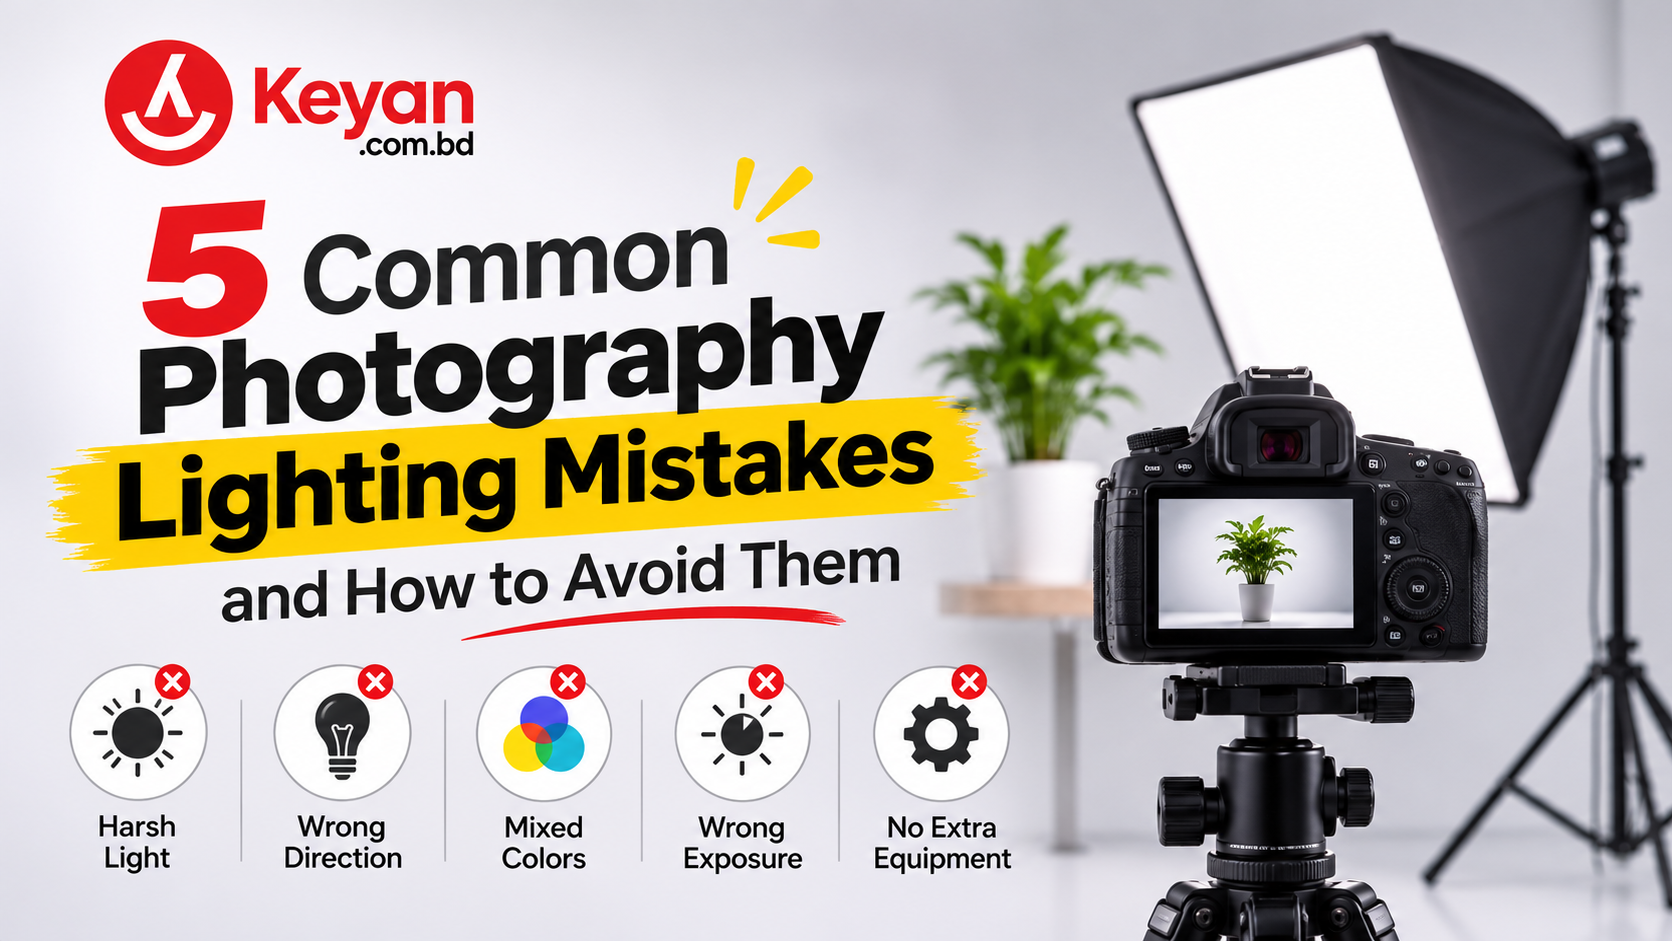
5 Common Photography Lighting Mistakes and How to Avoid Them
Photography is not just about having an expensive camera or a good lens. Lighting plays a major role in creating clear, professional-looking photos. Even with a good camera, poor lighting can affect image quality, colors, details, and overall appearance.
Whether you are a beginner photographer, content creator, or studio professional, understanding common lighting mistakes can help you improve your photography results.
Here are five common photography lighting mistakes and how to avoid them.
1. Using Harsh Direct Light
One of the most common photography mistakes is using strong, direct light without controlling its intensity. Harsh lighting can create unwanted shadows, overexposed highlights, and uneven skin tones.
How to Avoid It:
-
Use a softbox or diffuser to soften harsh light.
-
Position your light source at an appropriate angle.
-
Adjust the brightness according to your subject.
-
Use diffused natural light whenever possible.
Soft lighting creates a more balanced and natural appearance, especially for portrait photography.
2. Ignoring the Direction of Light
Light direction has a significant impact on how a subject looks in a photograph. Placing a light source in the wrong position can create unwanted shadows or make facial features appear flat.
How to Avoid It:
-
Experiment with front, side, and backlighting.
-
Use a 45-degree angle for natural-looking portrait lighting.
-
Avoid placing strong light directly behind your subject unless you want a silhouette effect.
-
Use a reflector to fill unwanted shadows.
Understanding light direction helps you create depth, texture, and dimension in your photos.
3. Mixing Different Color Temperatures
Using multiple light sources with different color temperatures can result in inconsistent colors. For example, mixing warm indoor lighting with cool daylight may make skin tones look unnatural.
How to Avoid It:
-
Use lights with matching color temperatures.
-
Adjust the white balance settings on your camera.
-
Choose adjustable LED lights when working in different environments.
-
Check your lighting setup before starting a photoshoot.
Consistent color temperature helps maintain accurate and natural-looking colors.
4. Overexposing or Underexposing Your Photos
Incorrect exposure is another common lighting problem. Too much light can remove details from bright areas, while insufficient light can make images dark and noisy.
How to Avoid It:
-
Adjust ISO, shutter speed, and aperture properly.
-
Control light intensity using adjustable LED lights.
-
Use your camera's histogram to monitor exposure.
-
Take test shots before capturing the final images.
Proper exposure ensures that important details remain visible in both highlights and shadows.
5. Not Using Additional Lighting Equipment
Relying only on available light can limit your creative options, especially when shooting indoors or in low-light environments. Without proper lighting equipment, achieving consistent results can become difficult.
How to Avoid It:
-
Use an LED video light for controlled and consistent illumination.
-
Add a softbox for softer portrait and product photography.
-
Use a reflector to reduce unwanted shadows.
-
Consider RGB lights for creative photography and colorful backgrounds.
Choosing the right lighting equipment can make your photography setup more flexible and professional.
Final Thoughts
Good photography lighting requires more than simply pointing a light at your subject. Understanding light direction, intensity, color temperature, and exposure can help you avoid common mistakes and capture better photos.
Whether you are photographing products, portraits, or creating content, the right lighting techniques and equipment can make a noticeable difference.
Explore photography and video lighting equipment at Keyan.com.bd to find useful tools for improving your photography setup.